First Start Viedo with sound
Click on the "First Start Video" link on the right side of this page to see and hear the first crank up.
posted by 1953 M38A1 Jeep @ 1:46 PM
0 comments
![]()
![]()
This is the story and photos of my Jeep rebuild over a two year period.
Click on the "First Start Video" link on the right side of this page to see and hear the first crank up.
posted by 1953 M38A1 Jeep @ 1:46 PM
0 comments
![]()
![]()
This week the engine was stated up for the first time! It put out some smoke, and the new paint on some parts burned off, but it ran great. After 15 minutes of running, I shut it down to re-torque bolts, check valve clearances, timing, etc.
I had one problem with the oil pressure gauge. So I installed an old direct gague that I had in the garage to confirm that I really did have oil pressure. I figured out that the problem was the sending unit on the engine was bad. Not sending the right signal to the gauge on the dash. A new part is on the way from NY.
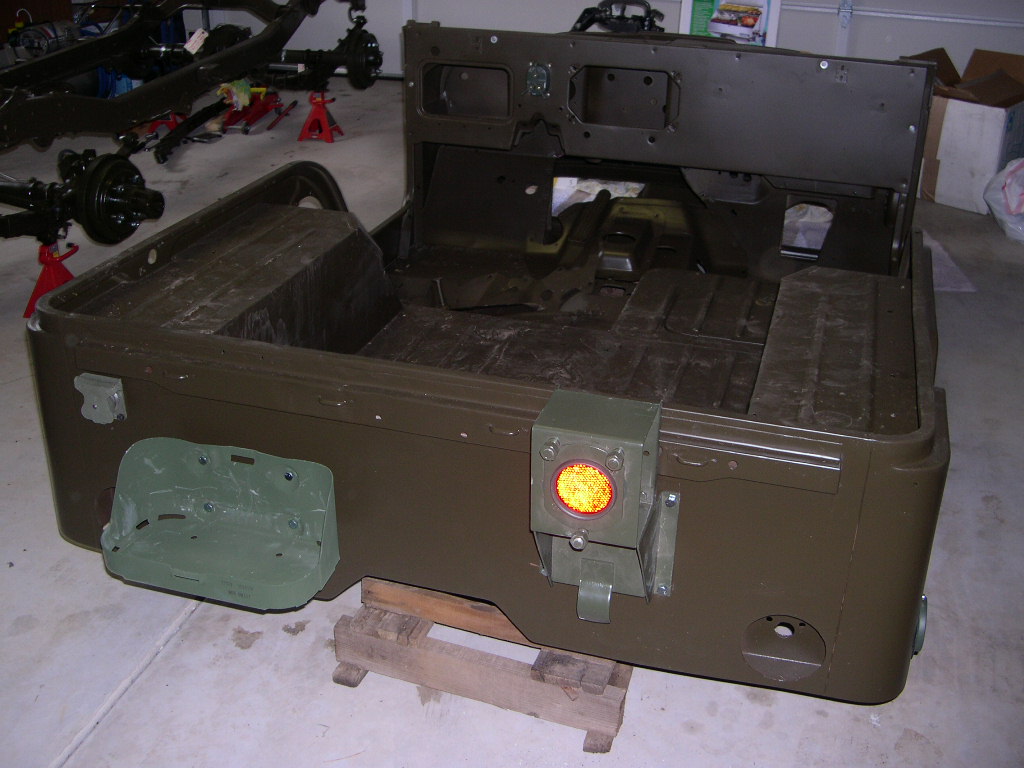
The rear seat frame arrived and has been painted. It is ready for the new seat cushions when they arrive. I have stated to install the front fenders (see photo) and horn, lights, etc. Not many loose parts lying around the garage left to put on the Jeep. The hood will be the last item after it gets painted with the big white Army star.
I have located some other old military items, such as ammo cans, that will be put in the Jeep for display. I will even have a Vietnam era flight suit with unit patches to wear when I drive the Jeep. Gotta look the part too!
posted by 1953 M38A1 Jeep @ 1:22 PM
0 comments
![]()
![]()


Here is one example of what it looked like before, and now today.
posted by 1953 M38A1 Jeep @ 8:46 PM
0 comments
![]()
![]()
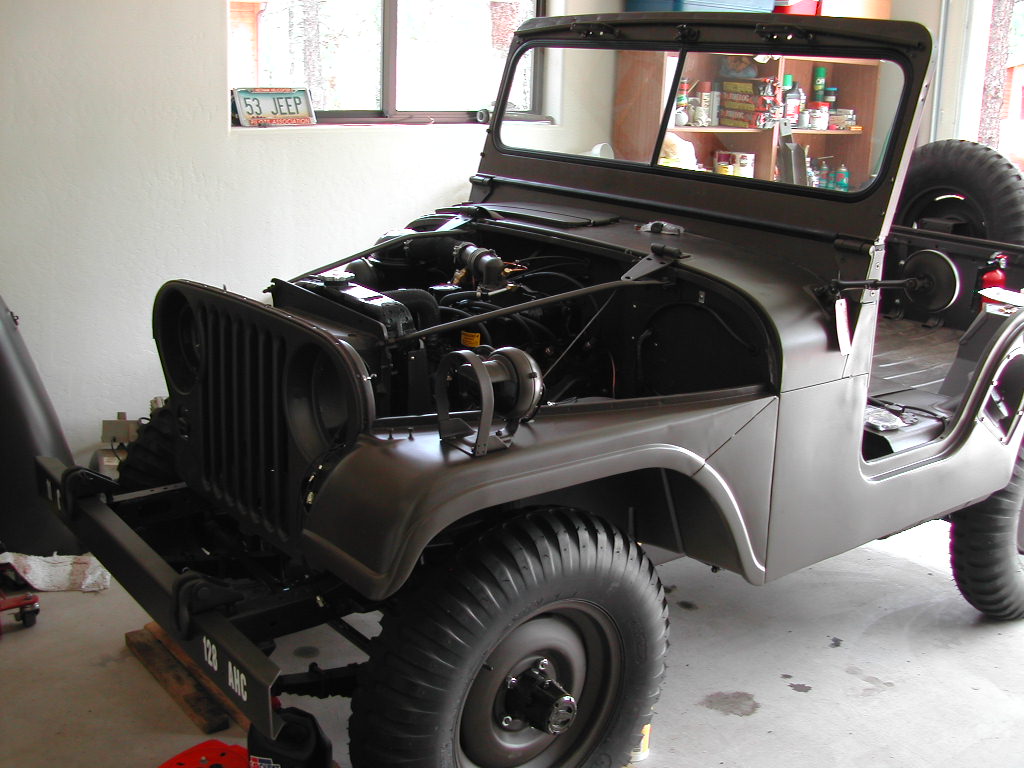
It is now July 2006 and I am working on the Jeep almost every day. The radiator and grill are on and things are being connected to the engine, the gauges on the dash, and to the brake and clutch pedals. The Jeep has been converted back to the original 24 volt electrical system, which has a Generator.
posted by 1953 M38A1 Jeep @ 8:23 PM
2 comments
![]()
![]()


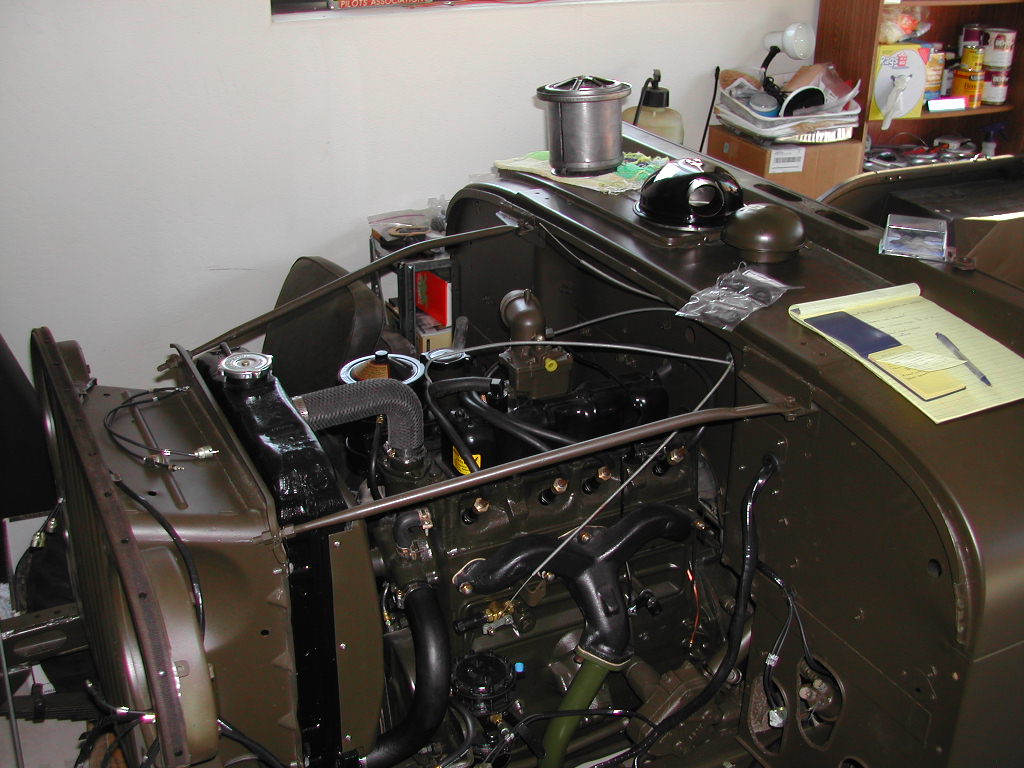
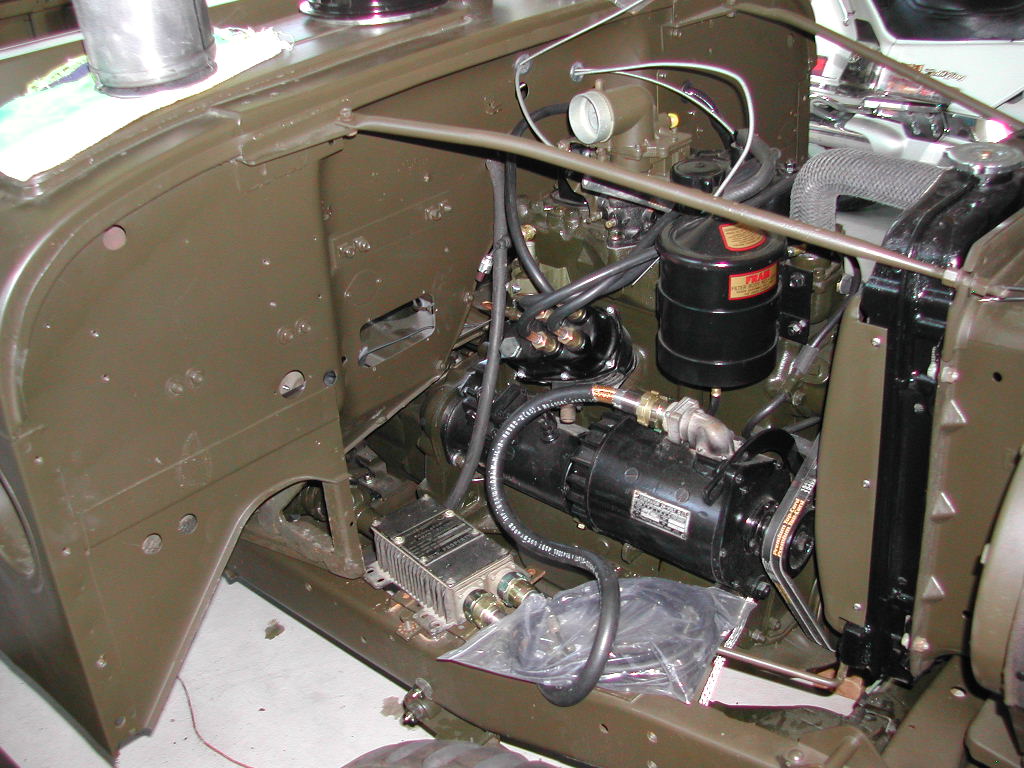
The body, fenders and all small parts have been sandblasted, primed and painted. Now it is time to put the body, or "tub" back on the frame. Before the tub was put on, the new electrical harness, fuel and brake lines and other things that go "under the floor" were installed.
The drive shafts got new U joints. One was bent and required a new end be welded on by a local drive line shop that could do the proper alignment.
Even though it is starting to look like a Jeep again, there are hundreds of things still to do. Almost daily trips to Ace Hardware looking for bolts, nuts and screws. Many of the old bolts were too rusty to clean up and use.
Notice that some parts are a different OD green. As I buy parts, some come with the old World War II color, some come with the Korea War color. Those that don't match, are cleaned up, sanded and repainted with the correct Army OD color. Right down to each nut, bolt and screw.
posted by 1953 M38A1 Jeep @ 7:58 PM
0 comments
![]()
![]()


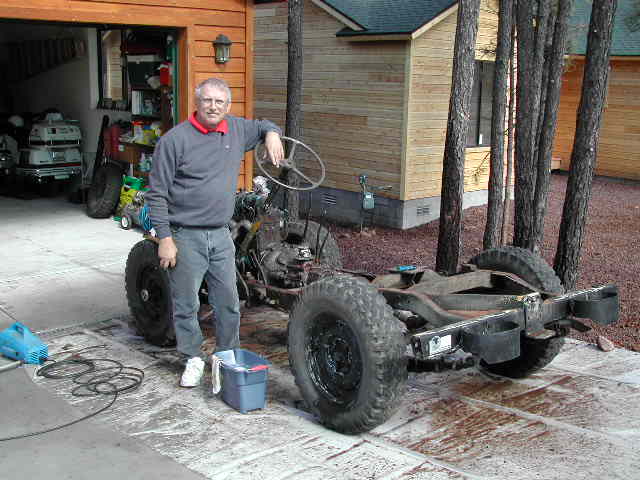
A big step was getting the new tires and tubes installed so that I now had a "rolling chassis". Next, the overhauled engine/transmission package is put back into the frame.
The date is now June of 2006. Of course we were on the sailboat for 9 months, so not much happened with the project as it sat in the garage collecting dust until this spring.
posted by 1953 M38A1 Jeep @ 7:52 PM
0 comments
![]()
![]()
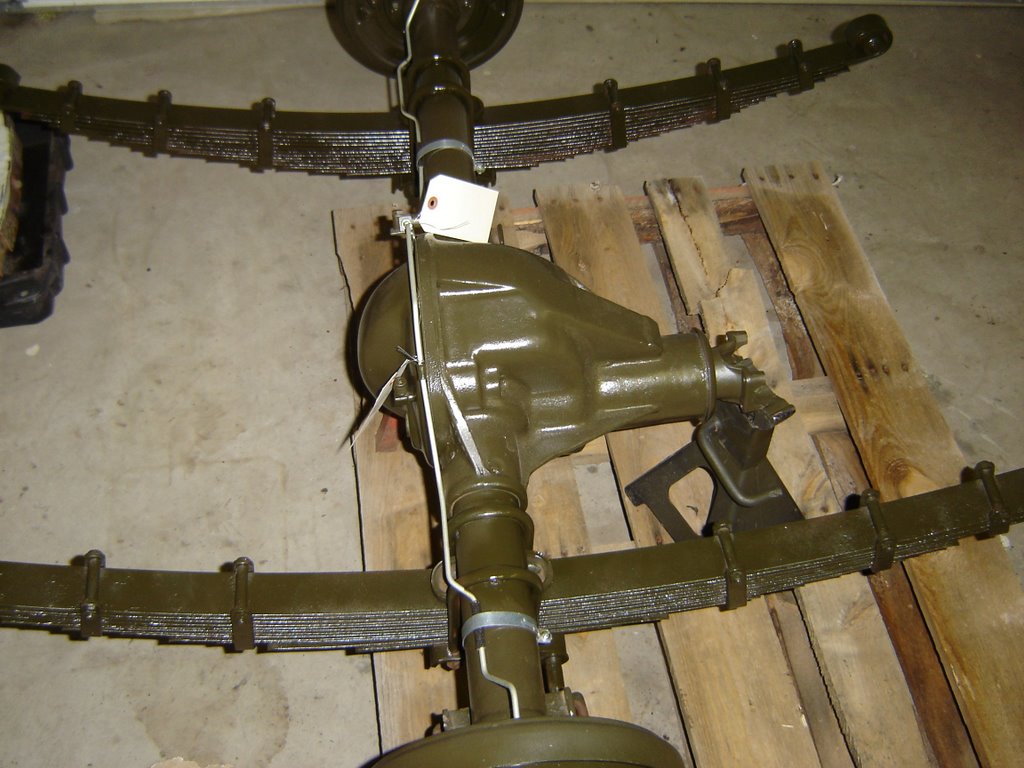
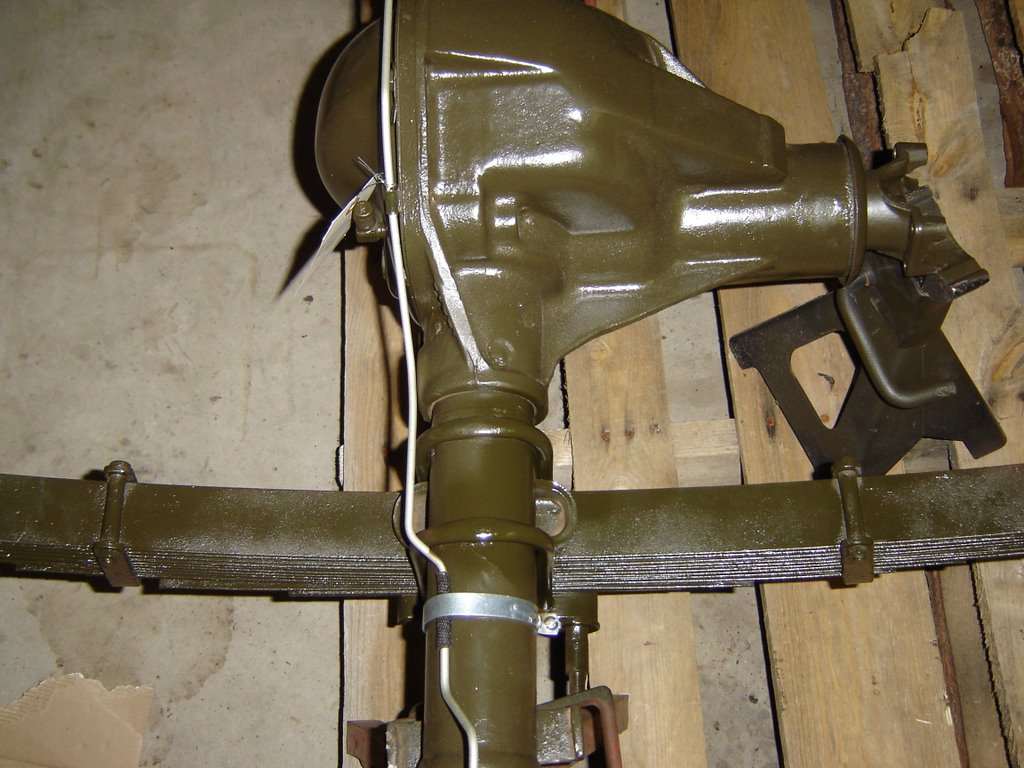

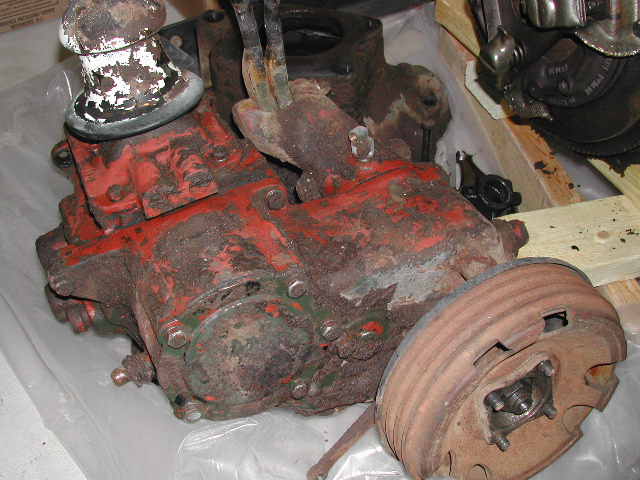
Here is the overhauled, with new parts and new paint, axels and frame. Starting from the bottom up. This is what they call a "frame off" restoration. This is the correct color of Army Olive Drab, or OD paint that this Jeep would have had when it left the factory in Toledo, Ohio in December of 1953.
posted by 1953 M38A1 Jeep @ 7:43 PM
1 comments
![]()
![]()
![]()

Here are a few more photos of the Jeep as it came apart.
Now time to start overhauling things and getting it back together! The UPS and FedEx trucks pull up to the house almost daily. The drivers are starting to ask, "how is the Jeep going?"
posted by 1953 M38A1 Jeep @ 7:37 PM
0 comments
![]()
![]()
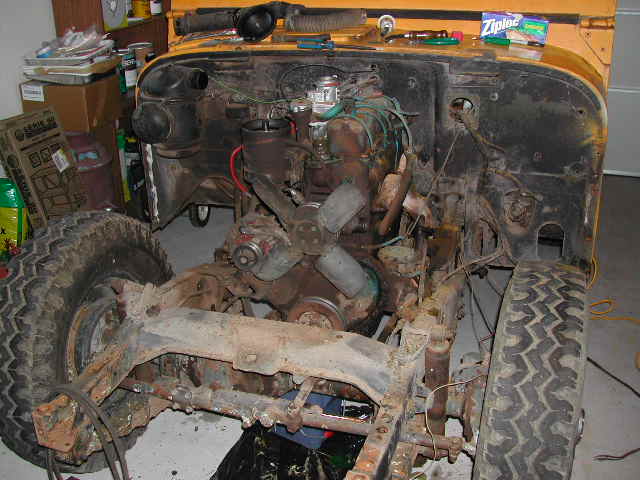

More disassembly and getting a list together of parts that will be needed later. At this point, I had purchased several military Technical Manuals and Parts Manuals to help with the project. The military is great at creating detailed manuals with plenty of pictures and drawings. You just need to learn to read the "military way".
For example, in one of the manuals you want to look up the part number for the bracket that supports the generator. You go to the index and look for; Brackets, End, generator in section 0601.1 where you will find the original Willys-Overland part number, WO-118835. Confusing at first, but once you fumble around the books, it starts to make sense.
Here are some more photos of the Jeep as it came apart. Oh, the yellow paint came from Mr. Favro, the former owner, who worked for Catipillar in Phoenix, so he used the same yellow paint you might see on a bulldozer.
posted by 1953 M38A1 Jeep @ 6:47 PM
0 comments
![]()
![]()


After getting the Jeep home, I started cleaning, then taking it apart. But first, I took many photos that would help later in putting it back together. I also used "zip lock" bags to put bolts, nuts and small parts in, and labeled the bags. Here are some photos as the Jeep was disassembled.
posted by 1953 M38A1 Jeep @ 6:24 PM
0 comments
![]()
![]()
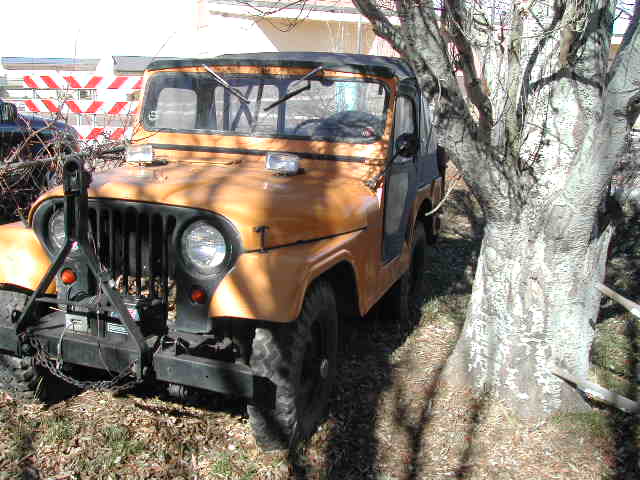
Here is a photo of the Jeep as it looked when I found it sitting under a tree. It was just down the street from our house in Show Low. I had driven by and looked at it for many months. Then one day I stopped and asked the lady that answered the door if the Jeep was for sale. She said her husband should sell it, as it did not run and he had no need for it now.
I came back a few days later and talked to Mr. Favro and he agreed to sell it to me. I first wanted to have a friend, who knows Jeeps, look it over and tell me what it was worth. That is when I figurd out that it was really an ex-military Jeep, built in 1953. I had thought it would be fun to have a Jeep, something to fix up and drive. Now, it became a military restoration project!
We agreed on a price of $1700, and I towed it home December 20, 2004.
posted by 1953 M38A1 Jeep @ 5:38 PM
3 comments
![]()
![]()